Prepare a drive migration with EaseUS Disk Copy
EaseUS Disk Copy clones an entire disk or a selected partition to another storage device. Use it when replacing a drive or preparing a working copy of an existing Windows installation and its data.
Choose the migration goal before selecting disks. A clone captures a source at a particular stage; it does not automatically provide a history of earlier file versions.
Choose disk or partition cloning
Disk cloning transfers the selected disk layout, while partition cloning targets a particular volume. Review which scope matches the data you intend to move.
Check source and destination by their identity and capacity rather than drive letter alone. Existing data on the destination disk or partition can be overwritten, so preserve anything you still need before confirming.
Match the destination layout to its capacity
Layout options include automatic fitting, retaining the source layout, and manual adjustment. A smaller destination can be usable when the source contents and supported layout fit.
Inspect the proposed target partitions before execution. Nominal capacity alone is not enough to decide whether a migration will work; used space and the selected mode also matter.
Understand sector-by-sector copying
Sector-level copying includes unused space and requires a target at least as large as the source. It serves a different purpose from a standard clone that can adjust layout.
Select it for a specific reason rather than assuming a more extensive copy is always preferable. Review capacity and time before starting, especially when working with a large source.
Prepare a bootable cloning workflow
Bootable USB, CD/DVD, or ISO media provide a WinPE workflow for cloning without starting the installed Windows system.
Prepare the media and confirm that it can access the intended drives before relying on it during a replacement. Save work and keep an independent recovery copy before substantial storage changes.
Verify a migrated system before retiring the source
A system-drive clone includes the boot-related layout needed for a migration workflow, but startup still depends on the target configuration.
Check boot selection and test the intended target installation, applications, and personal files. Keep the original unchanged until the new drive has been verified; do not treat a completed progress bar as proof of every recovery outcome.
Distinguish drive cloning from PC transfer and deployment
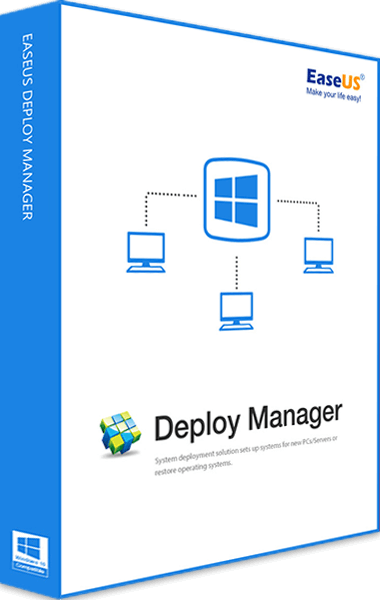
For transferring applications and data between PCs, review EaseUS Todo PCTrans. For deploying system images across multiple networked computers, see EaseUS Deploy Manager. Choose the workflow around the transfer or deployment you need.
Choose backup or partition management separately
For scheduled recovery copies, see EaseUS Todo Backup Home. For storage-layout changes, review EaseUS Partition Master 20.
Review the selected edition and license coverage before planning a task. Cloning does not repair physical hardware faults or guarantee retrieval of unreadable data; investigate a failing source before repeated copy attempts.