
Automate file copies with O&O AutoBackup 8
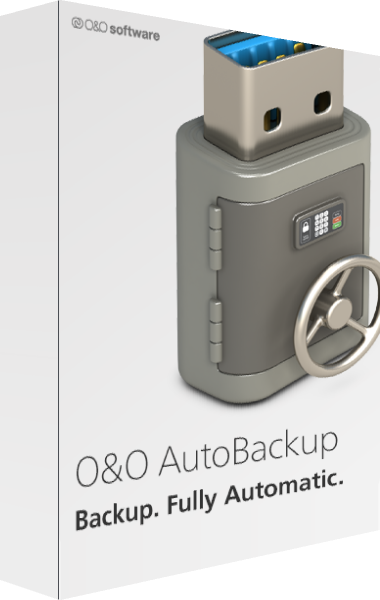
O&O AutoBackup 8 backs up and synchronizes selected files and folders. Configure the source, destination, and copy behavior once, then use automatic tasks to maintain additional copies of documents, photos, and project files.
The redesigned interface guides task setup step by step. Before enabling automation, try a small selection of files so you can inspect the destination and confirm the result.
Start a task when your backup drive is connected
A task can run automatically when its designated USB flash drive or external hard drive is connected. This is useful for a portable backup drive that you attach after working on important files.
Give each task a clear purpose and confirm that the intended destination is connected. After the first run, inspect the copied files rather than treating the connection itself as confirmation that the backup completed.
Choose copying or synchronization deliberately
Copying creates an additional set of selected data at the destination. Synchronization updates data according to the configured task behavior. Review those settings before applying them to your only recovery copy.
Test what happens when a source file is edited, renamed, or deleted. A synchronized destination should not automatically be treated as a history of earlier file versions; preserve separate recovery copies when you need that protection.
Include locally available OneDrive files
Version 8 adds backup and synchronization of OneDrive data. Include locally available OneDrive files alongside other selected folders in your backup routine.
Before running a task, check that the files you intend to copy are present locally. A cloud listing is not the same as a verified backup: inspect the destination and open sample files to confirm that their contents are recoverable.
Select local, external, or S3-compatible storage
AutoBackup supports local and external drives as well as S3-compatible storage destinations. Choose the destination around how you expect to retrieve files after a device or location becomes unavailable.
For remote storage, verify the account, destination, access settings, and available capacity before scheduling recurring transfers. Keep the information needed for recovery accessible from another trusted device.
Protect confidential backup data
Encryption and obfuscation options help protect backed-up data. Review these settings when a destination contains sensitive documents or is accessible to other people.
Keep recovery credentials separate from the computer being backed up. Test that you can retrieve and read a sample file using your chosen protection settings before relying on the task.
Verify recovery as part of your routine
An automated task reduces repeated manual work, but its result still deserves attention. Periodically check that the selected folders are current and the destination remains available.
Use a few representative files for a recovery check, including a recent document and a larger file. Restore or retrieve them into a separate location so the check does not overwrite your working originals.
Distinguish file backup from a complete system image
AutoBackup focuses on selected files, folders, and OneDrive data. A file-copy task should not be assumed to create a bootable recovery environment or capture an entire Windows installation.
If you need drive or system-image recovery, compare O&O DiskImage 20 and review that edition's capabilities. Choose the tool around what you need to recover: personal files or a wider system state.
Compare backup workflows
Read our O&O AutoBackup 8 vs Ashampoo Backup Pro 26 comparison to compare file copying, automation, storage destinations and system recovery with Ashampoo Backup Pro 26.