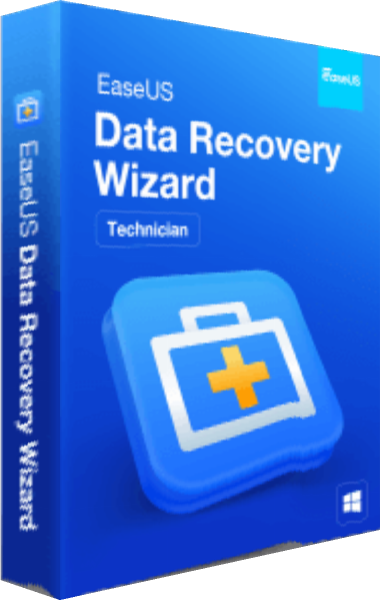

Search for lost files with EaseUS Data Recovery Wizard 20
EaseUS Data Recovery Wizard 20 searches Windows storage for deleted or lost files and presents results for filtering, preview, and selected recovery. Its workflow starts with the location where the data was lost.
A listed file is a recovery candidate rather than a guarantee that its contents are intact. Preserve the source and check recovered copies before treating the task as complete.
Avoid new writes to the affected storage
Stop saving new files to the source drive after discovering data loss. Installation, downloads, and recovered output can overwrite space that still contains deleted data.
Use another drive for recovery software where practical and always choose a separate recovery destination. Do not format or repartition the source simply to make it accessible to the scanner.
Select the source and review scan progress
The application provides scanning for lost data, including deep scanning and lost-partition results. Results can be inspected while scanning continues.
Choose the device carefully, especially when several removable drives are connected. A large result count does not mean every item is relevant; allow the search to cover the location you need before judging what remains recoverable.
Use filters and previews to narrow results
Search and filter controls help locate files by details such as type, name, size, or date. Supported-file previews let you inspect content before saving selected items.
Start with details you remember and broaden the search when needed. If original names or folders are unavailable, review content-based results rather than assuming a missing name means the file is absent.
Understand the role of file repair
Version 20-series product information describes repair support for selected photo and video formats during recovery. Availability depends on the installed build, file type, and edition.
Do not assume repair recreates data that has been overwritten. Preview a representative item and open the recovered copy in its normal application to assess whether the content is usable.
Recover to a separate location and verify files
Choose a destination outside the affected source and confirm it has enough capacity. Keep the source unchanged until you have checked the files that matter.
Test a recent document, a larger file, and any critical media rather than relying only on names and file sizes. Once a recovered PDF has been verified, EaseUS PDF Editor provides a separate workflow for editing documents; editing does not replace recovery of missing file data. For a drive showing physical failure symptoms, consider specialist recovery before repeated scans.
Check edition scope and prepare future backups
Review the selected edition for recovery limits and additional workflows. This page describes the Windows version 20 entry without assuming every current feature is included in every build.
For Mac storage, see EaseUS Data Recovery Wizard for Mac 20. For an iPhone or iPad recovery workflow, review EaseUS MobiSaver for iOS and its recovery options.
For planned recovery copies, see EaseUS Todo Backup Home and our file-backup guide. Recovery scanning does not replace backup or guarantee restoration after every incident.
See our O&O DiskRecovery 14 vs EaseUS Data Recovery Wizard 20 comparison for search controls, previews and edition scope.